The 3-Basket System for a Stress-Free Kitchen Counter & Easy Home Care
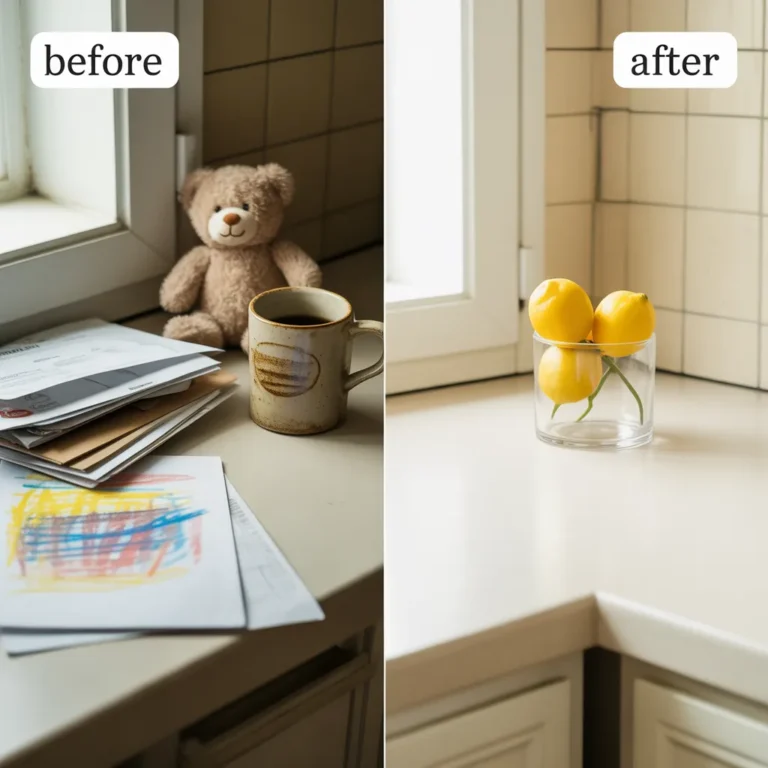
Does your kitchen counter feel like the world’s most chaotic landing strip? Mine certainly did. Every day, I’d face the same overwhelming mess—mail, toys, school papers, and forgotten gadgets piling up, making my heart sink.
I used to spend precious time constantly “resetting,” only for the clutter to reappear within hours. If you’re a busy mom drowning in countertop chaos, know you’re not alone. But what if I told you there’s a simple, proactive system that can break this cycle? It’s time to meet the three baskets that finally brought calm to my kitchen.
Why the “Reset” Cycle Doesn’t Work (and How to Break Free)
Are you tired of constantly cleaning your kitchen, only for it to get messy again almost instantly? This endless “reset” cycle is exhausting because it doesn’t fix the real problem: there’s no clear home for the things that land on your counter.
It’s like trying to bail out a leaky boat without plugging the hole! Instead of just picking up, we need a smarter way to manage the flow. This shift is key to effective decluttering. By giving every item a simple, designated spot, even temporary ones, you stop clutter before it even starts, saving your time and energy for what truly matters.
Meet the 3 Baskets: Your Countertop Dream Team
Ready to finally reclaim your kitchen counters? Let’s introduce the three simple baskets that will change everything for your home organization. These aren’t fancy, expensive bins; they’re just tools to give every item a temporary home, stopping clutter in its tracks.
Basket 1: The “Landing Pad” Basket
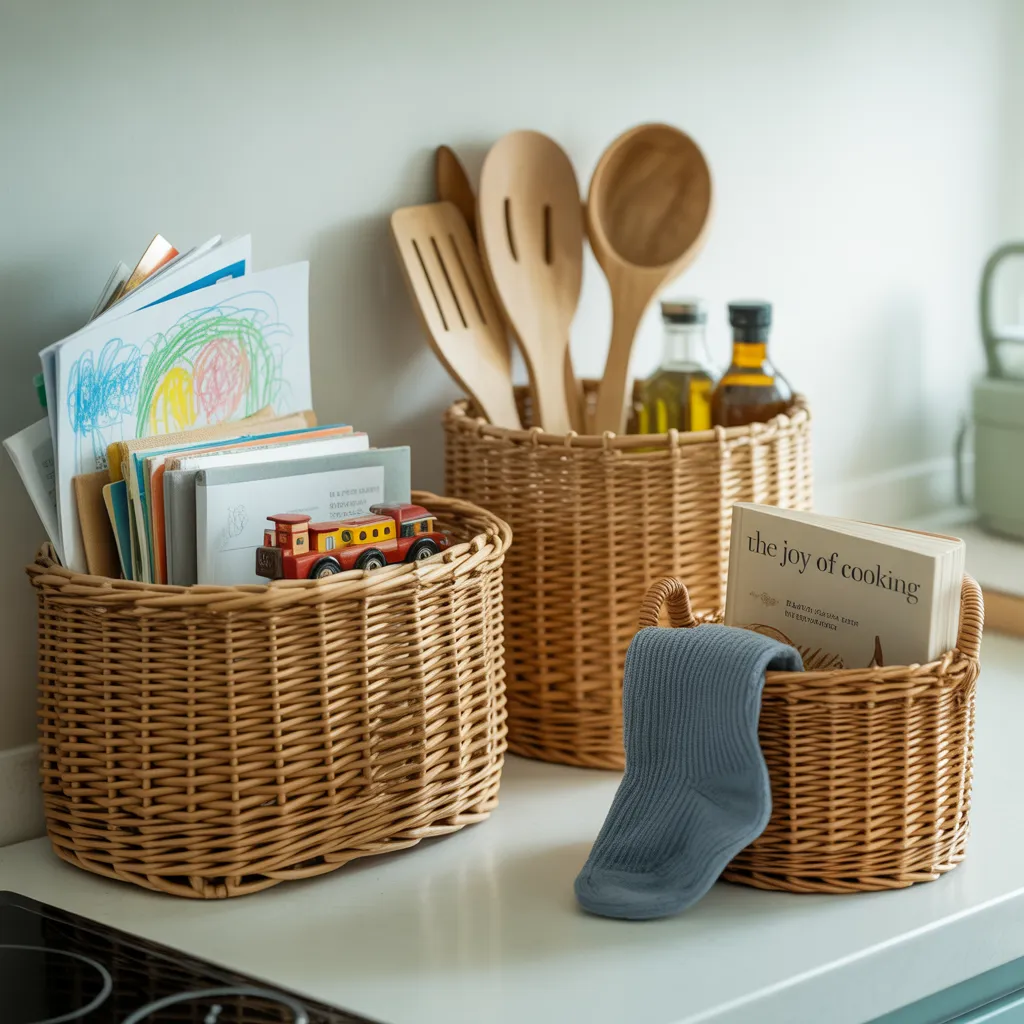
Imagine a soft landing spot for all the random stuff that usually ends up scattered across your counter. That’s what the “Landing Pad” basket is for! This basket is your designated catch-all for mail, keys, kids’ drawings, or anything else that comes into the kitchen without a clear place to go. This simple solution helps immensely: it stops the immediate spread of clutter.
To get started, grab any basket you have—an old shoebox, a dollar store bin, or even a sturdy gift bag works! Place it near the main entry point to your kitchen or where clutter typically piles up. Your first step? When something enters the kitchen, if it doesn’t have an immediate home, it goes straight into the “Landing Pad.” Commit to emptying it once a day, or every other day, and watch the chaos disappear!
Basket 2: The “Zone Specific” Basket
Next, let’s talk about the “Zone Specific” basket—this one’s all about making your daily tasks easier and is key for smart kitchen organization. Think about the items you use constantly in one area of your kitchen. Maybe it’s your cooking oils and spatulas by the stove, or your coffee pods and sugar by the coffee maker. Instead of letting these things spread out, give them their own small basket.
This keeps necessary items contained and stops them from taking over the entire counter. Your next move? Look at a spot where you always cook or prepare drinks. Gather those items that belong there and put them into a simple container. It could be an old planter, a small wooden crate, or any open box. This makes your routine smoother and tidier!
Basket 3: The “Out-of-Place” Basket
Finally, let’s tackle those sneaky items that just appear on your counter but don’t belong anywhere near the kitchen—meet the “Out-of-Place” basket! This basket is your designated spot for all those wandering items, like library books, stray socks, or a toy car from the living room.
It’s a fantastic clutter solution that stops these random items from forming new piles. Grab another basket—even a laundry basket or a large tote bag works! Place it somewhere handy, perhaps near a doorway that leads to other rooms.
Your immediate action is to toss any non-kitchen items you find on the counter into this basket. Then, once a day, or when the basket gets full, do a quick “return run” to put everything back in its true home. It’s a simple habit that makes a big difference!
Implementing Your 3-Basket System: Simple Steps for Success
Now that you know the baskets, let’s talk about putting them to work! This system is designed to be simple, so you can start right away without feeling overwhelmed. Think of these as easy organizing tips to get your counters clear.
Step 1: Declutter First (The “Good Enough” Rule)
Before you place your baskets, you’ll want to do one quick, easy step: a “good enough” declutter. Don’t worry, this isn’t a huge deep clean! This first clear-out simply removes the obvious junk that’s weighing you down.
Grab a trash bag and, if you have one, a box for donations. Spend just 5 to 10 minutes quickly scanning your counters. Toss any trash, put dishes in the sink, and gather things that clearly don’t belong and can be donated or moved.
Remember: Good enough is perfect! Don’t aim for spotless; just get the big stuff out of the way.
Step 2: Choose Your Baskets
Now for the fun part: picking your baskets! The best part about this system is you don’t need to buy anything new. The benefit here is saving your precious time and money. Look around your house for things you already own that can hold items. Think outside the box for your DIY storage solutions!
Your next move is to find three containers. This could be old shoeboxes, sturdy gift bags, small laundry baskets, plastic bins from the dollar store, or even a deep bowl. The size doesn’t matter as much as their ability to hold the items you need to tame. Remember, the goal is “good enough,” not perfect!
Step 3: Label (Optional but Helpful)
Want to make your new system even easier for everyone in the family, especially busy little hands? Consider adding simple labels to your baskets! This little household hack provides clarity because it helps everyone know exactly what goes where, removing any guesswork.
Your action step here is simple: grab some masking tape and a marker, or even a sticky note. Write down what each basket is for, like “Landing Pad,” “Kitchen Zone,” or “Goes Back.” If your kids are young, a simple drawing might work even better! This isn’t a must-do, but it can make maintaining your clutter-free counters much smoother.
Step 4: The Daily 5-Minute Tidy
Now for the magic habit that keeps your counters clear with almost no effort! The true value of this 3-basket system comes from a super simple daily routine: the 5-minute tidy. This isn’t a deep clean; it’s just a quick check-in to maintain your newly organized space.
Your final step is to pick one time of day that works for you. Maybe it’s while your coffee brews in the morning, right after dinner, or just before bed. During these five minutes, quickly put any lingering items into their correct “Landing Pad,” “Zone Specific,” or “Out-of-Place” baskets.
Empty the “Landing Pad” and “Out-of-Place” baskets to their true homes. This tiny habit prevents big messes and helps you feel more in control every single day.
Beyond the Baskets: Maintaining Your Calm Kitchen
Your baskets are set up—now, how do you keep that calm feeling going day after day? The secret is simple: consistency. You’ve created a fantastic system, and now it’s about making it a part of your daily rhythm. The lasting benefit of this approach is that it prevents big messes from ever coming back, saving you from future stress and hours of cleanup.
Your next move to maintain this calm kitchen is to connect your daily 5-minute tidy to something you already do. This is called “habit stacking.” For example, while your coffee brews in the morning, quickly sort your “Landing Pad” basket. Or, after you put the kids to bed, do a quick pass of the “Out-of-Place” basket. By linking it to an existing routine, your tidy becomes almost automatic, keeping your counters clear with almost no extra effort.
Conclusion
You started this journey feeling overwhelmed by your kitchen counters, constantly battling endless piles. But now, you have a simple, actionable plan to take back control! The power of these three baskets isn’t just about a tidy space; it’s about giving you a quiet sense of empowerment and a little less daily stress.
Remember, progress is always more important than perfection. You don’t need a perfectly Pinterest-worthy kitchen, just one that works for your busy life. So, take that first step today! Which of the three baskets will you try first to tame your kitchen counter?
Share your biggest kitchen counter challenge in the comments below—I’d love to hear from you!